Deep Drilling: 12xD and Beyond
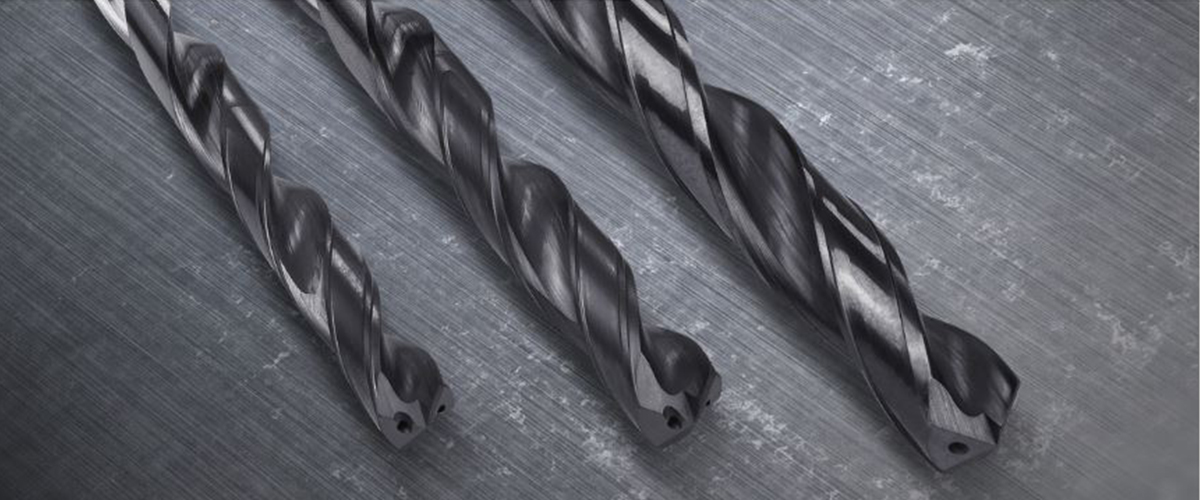 R&D Engineer Angelo Papageorgiou gives ‘too much information’ about peck drilling cycles when deep drilling in his own unique style – but we think you’ll find it useful!
Peck drilling cycles are common to most CNC machines. After some distance of travel, the drill retracts periodically to facilitate chip breaking and clearing. When pecking. there are several contributing factors that can accelerate tool wear, including absence of a dwell at the bottom or a rapid traverse to the bottom of the hole.
Peck drilling is often a requirement when drilling deeper than three times the diameter of the drill. That doesn’t sound like much, but though intensive research and testing we now know better… Most canned pecking cycles will counter for the drill stopping a hair above the previous peck, although this doesn’t completely solve the issue of tool breakage when pecking.
Warning, warning, Will Robinson!
If you’re pecking with G81, you are asking for tool breakage. For example, the Haas VF2 G81 doesn’t provide for a programmed stop before the previous peck. This can cause the drill to bump against the interrupted cut from the previous peck and chip the drill point. Your drill will then start to sing, but not like Mussolini!
G83 is an example of a desired method. It’s programmed to stop rapid traverse before the previous peck at the bottom of the hole. In both HAAS and Fanuc controllers the operation is very similar. Plus, it’s a pain to program a pecking cycle with G81; too many lines…
The other issue that can arise is the sudden reverse causing the chip to break. To counter this effect, you could create your own program to slowly reverse, creating an intentional chip thinning and reducing the load on the cutting edge. This will hopefully reduce that sudden load from the thick chip and prevent tool damage. Add in feed reverse before retracting when working tough alloys like Inconel, and you could be getting better tool life.
At the end of the day, canned drilling cycles can only take you so far. Much like following a recipe for grilling steak, there’s no ‘one fits all’. Some people like theirs done medium, others rare, and steaks can be thick or thin.
So, if you are going deep, you are going to need some custom cycles. Drilling without a peck for two- to three-times diameter before the first peck, not retracting beyond the hole entrance and/or slowing the feed rate and spindle RPM at depths must all be done in the custom program. Each cycle needs to be designed by drilling depth to maximise tool life. Canned drilling cycles differ from controller to controller, and keep all the motions at federate speeds. There is much potential for improving cycle time and effectiveness with custom programs.
Pecking isn’t Gospel
Despite all the above, by using high-pressure through-coolant with a fearless attitude to machining, you can, in some cases, eliminate the need for pecking. You can even run at higher feed rates and spindle speeds, if minutes and seconds matter to you. With higher feeds, chips tend to form better. Coupled with a solid friction-resistant coating, it’s a real option and potential time saver.
You might ask at this point, “Why say that now after first making me read all about pecking?”
It’s because you need pecking! If you just read the start of this article then went away to your CNC machine and drilled 30D drills all in one go you’d probably break them. Then you’d come back and say, “Angelo, why did you break a drill that cost me a fortune – when you said it wouldn’t break!” Drills can break, but it’s less likely to happen within a refined, pristine custom drilling cycle.
Supposing you have a 12D IK drill that you rushed to purchase from Sutton Tools, have no idea what to do with it but don’t want to peck. Then Step 1 would involve getting a stub drill of the same diameter with a plus tolerance. It could be the D323 or D329 series from our catalogue.
The amazing CNC operator that you are, you would then drill a pilot hole to a depth of 2xD (two times diameter) at recommended speed and 50% feed.
We’re at Step 3 now – keep up! The longer drill should then proceed to enter the hole, with through spindle coolant turned off at approximately 500RPM and maintaining 50% feed. Once you reach 1.5xD, set your feed to 100% with coolant on and let the music begin; go straight to your programmed depth and roar like Dr Frankenstein.
It’s not over yet! Step 4 is to retract at maximum feed rate and around 500RPM, turning off the through-coolant before the drill exits the hole. You’re done! Now marvel at your hole: straight, smooth and 12D deep.
About the Author
Angelo Papageorgiou
Angelo is a Research and Development Engineer with an education background in Mechatronics, Advanced manufacturing, and Industrial Design. At Sutton Tools he is responsible for product improvement through research, design and development.
More blogs